
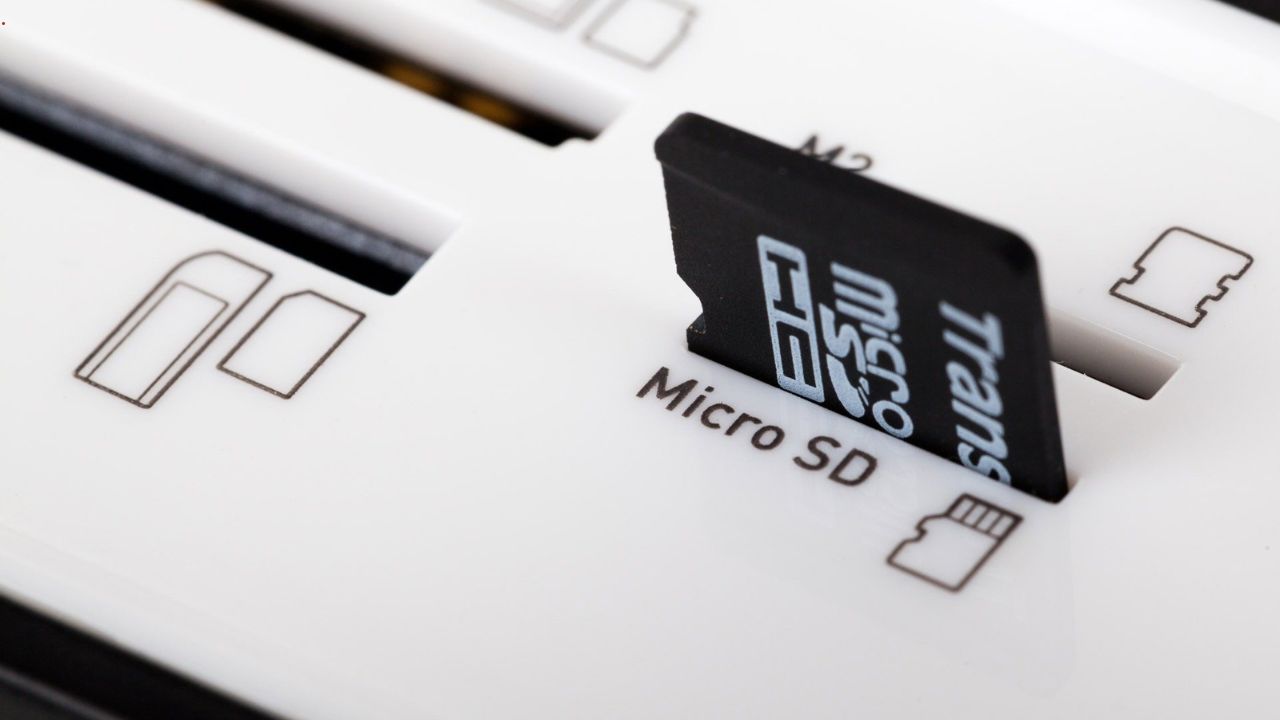
SD card data loss is stressful enough without turning it into a disaster through well-meaning mistakes. The difference between a successful recovery and a permanent loss is often a handful of choices made in the first few minutes after you notice the card is empty.
This guide separates the dos from the don’ts so you can act fast and act right.
The Golden Rule – Stop Using the Card
Every second your SD card stays in active use, you are gambling with your data. When a file is deleted, it is not actually erased – the card simply marks the space as available. The next photo you take, the next file you copy, the next cache your camera writes – any of them can land on that space and overwrite your lost files for good.
- Do: remove the card immediately and put it somewhere safe. Use a card reader to connect it to a computer only when you are ready to scan.
- Don’t: keep shooting, keep browsing the card, or let your computer write anything to it.
What to Do
Follow these steps in order:
- Remove the card safely. Power off the device first, then eject.
- Use a reliable card reader. A flaky reader can make a healthy card look dead.
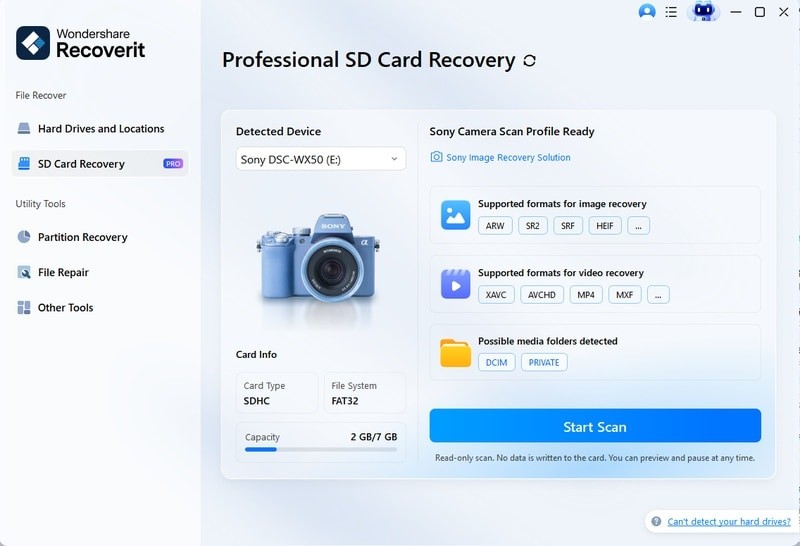
- Choose read-only recovery software. The tool you use must scan without writing a byte.
- Scan with a purpose-built tool. A dedicated SD card recovery program finds data that file explorers cannot.
Wondershare Recoverit is a solid choice here: it scans cards read-only, uses AI-boosted device recognition to identify cards from cameras, GoPros, and drones, and previews every file before recovery so you never restore garbage.
- Preview before recovering. Check and ensure that the files you found are the files you need.
- Save to a different drive. Recovered files must not go back onto the same card.
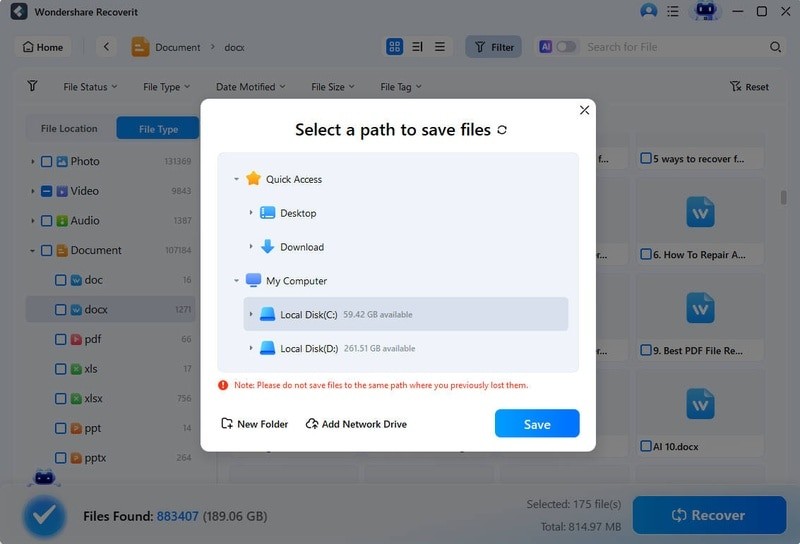
The order matters more than it looks. Scanning read-only before previewing, and previewing before recovering, means every decision you make is reversible – you can stop, restart, or change your mind without harming the card. A recovery workflow that writes nothing until the final step is a workflow that keeps every option open.
What NOT to Do
These mistakes cost more recoveries than anything else:
- Don’t format the card. Formatting rebuilds the file system and can overwrite the data you want back. “It says format needed” is not a reason to format – it is a reason to scan read-only instead.
- Don’t initialize it. If Windows offers to initialize an unallocated card, don’t do that. Initializing creates a new partition structure over your data.
- Don’t write new files to it. No test files, no “just one more photo” to test whether the device works again.
- Don’t use the camera with it. In-camera operations – even browsing – can trigger writes.
- Don’t try random tools one after another. Each tool that writes to the card reduces your data recovery chances. Pick one reliable, read-only tool and stick with it.
One more trap deserves its own warning: don’t be talked into a “repair” before recovery. Utilities that promise to fix a corrupted card often rebuild the file system as part of the repair – which is formatting in disguise. Repair is a post-recovery step. Scan first, recover second, repair third, and only if you still care about the card itself.
How to Choose Safe Recovery Software
The safest recovery software has three properties:
- Read-only scanning – it never modifies the source card.
- Deep scan support – formatted and corrupted cards need sector-level scans, not just file browsing.
- Preview before payment – you should confirm your files exist before spending money.
Recoverit checks all three boxes, and it goes a step further: if your recovered photos come back damaged, its photo recovery tool can repair them, and its video recovery tool handles fragmented or corrupted footage.
The One-Time Cost of a Bad Tool
Trying a wrong tool is not just wasted time – it can cost you the recovery. Some utilities scan normally but then offer a “fix” that writes to the card. Others are flat-out malware disguised as recovery software, ready to steal whatever they can read. The safe approach is boring and effective: download only from the vendor’s official site, read recent reviews before installing, and never let any tool write to the card while scanning. The few minutes of checking are cheaper than the files you might lose.
When to Call a Professional
If the card itself is physically damaged – cracked, water-damaged, or making unusual sounds – stop all software attempts. Professional recovery services use clean-room equipment to read damaged flash memory directly. It is expensive and not always successful, but for irreplaceable data it is the only realistic path.
A reasonable rule of thumb: if the card reads at all – even with errors – software recovery is worth trying first. If the card will not mount anywhere, or shows obvious physical damage, skip straight to a professional estimate. The cost of a failed DIY attempt is usually just time; the cost of a failed professional attempt is usually the data itself.
Conclusion
SD card recovery is a game of doing the right things quickly and avoiding the wrong things entirely. Stop using the card, scan read-only, preview, and save somewhere new. Wondershare Recoverit embodies all of those habits in one three-step workflow, so even in a panic, your next moves are the right ones. And when the card is beyond saving, the habits you practiced – backing up, checking health, ejecting safely – are what keep the next loss from ever happening. Data loss is a matter of when, not if; the question is whether you are ready for it when your turn comes.