Every homeowner eventually faces the same question: should I try to fix or upgrade this myself, or is it time to call a professional?
The honest answer depends on the project. Some tasks are genuinely manageable for a motivated DIYer with the right tools and patience. Others look straightforward on the surface but carry real risks — wasted materials, costly callbacks, or safety issues that end up costing far more than a professional would have charged in the first place.
This guide breaks down the most common home improvement categories and helps you make a smarter call before you start.
Table of Contents
Why the DIY vs. Pro Decision Matters More Than You Think
Home improvement spending in the US continues to grow, with millions of homeowners tackling projects every year. The appeal of DIY is obvious — labor is typically the largest cost component in any renovation, and skipping it feels like a win.
But the real cost of a failed DIY project is rarely just the materials. It includes:
- Time spent redoing work that didn’t hold up
- Materials wasted due to measurement errors or technique mistakes
- Contractor fees to fix what went wrong
- Potential impact on your home’s resale value
The goal isn’t to avoid DIY — it’s to know which projects reward it and which ones quietly punish overconfidence.
Electrical Work: Know the Line
Minor electrical tasks — replacing a light switch, swapping an outlet, installing a ceiling fan where wiring already exists — are within reach for a careful DIYer who turns off the breaker and follows instructions.
Anything beyond that gets complicated fast. Panel upgrades, new circuit runs, recessed lighting that requires fishing wires through walls, and anything involving your home’s main service line should go to a licensed electrician. Mistakes aren’t just expensive — they’re a fire and safety risk that can also affect your homeowner’s insurance.
DIY: outlet replacements, switch swaps, fixture changes on existing wiring Pro: new circuits, panel work, any wiring behind walls or in attic/crawl spaces
Plumbing: Small Leaks, Big Consequences
Replacing a faucet or a showerhead? Totally DIY-friendly. Swapping out a toilet? Also manageable with a little patience.
But plumbing quickly becomes a “hire a pro” situation when it involves supply lines behind walls, drain lines that need to be re-routed, or anything connected to your main water shutoff. A slow leak inside a wall can go undetected for months and lead to mold, structural damage, and repair bills that dwarf what a plumber would have cost upfront.
DIY: faucet replacements, showerheads, toilet swaps, basic drain cleaning Pro: supply line work, re-routing drains, anything behind finished walls
Painting: The Classic DIY Win
Interior painting is one of the best DIY projects for most homeowners. The learning curve is low, the tools are affordable, and even imperfect results can be corrected. Prep work — patching nail holes, taping, sanding rough spots — makes a noticeable difference in the final look, and it’s all within reach.
Exterior painting is more demanding due to surface prep requirements, weather exposure, and the physical challenge of working at height. If your home has peeling paint, wood rot, or requires primer before color, the prep work alone often justifies professional help.
DIY: most interior painting with proper prep Pro: exterior painting on multi-story homes, surfaces needing significant prep
For rental units and multi-tenant buildings, the calculation shifts — turnover speed and consistent finish quality matter more than saving on labor, which is why many property managers lean on professional interior painting rather than handling it in-house.
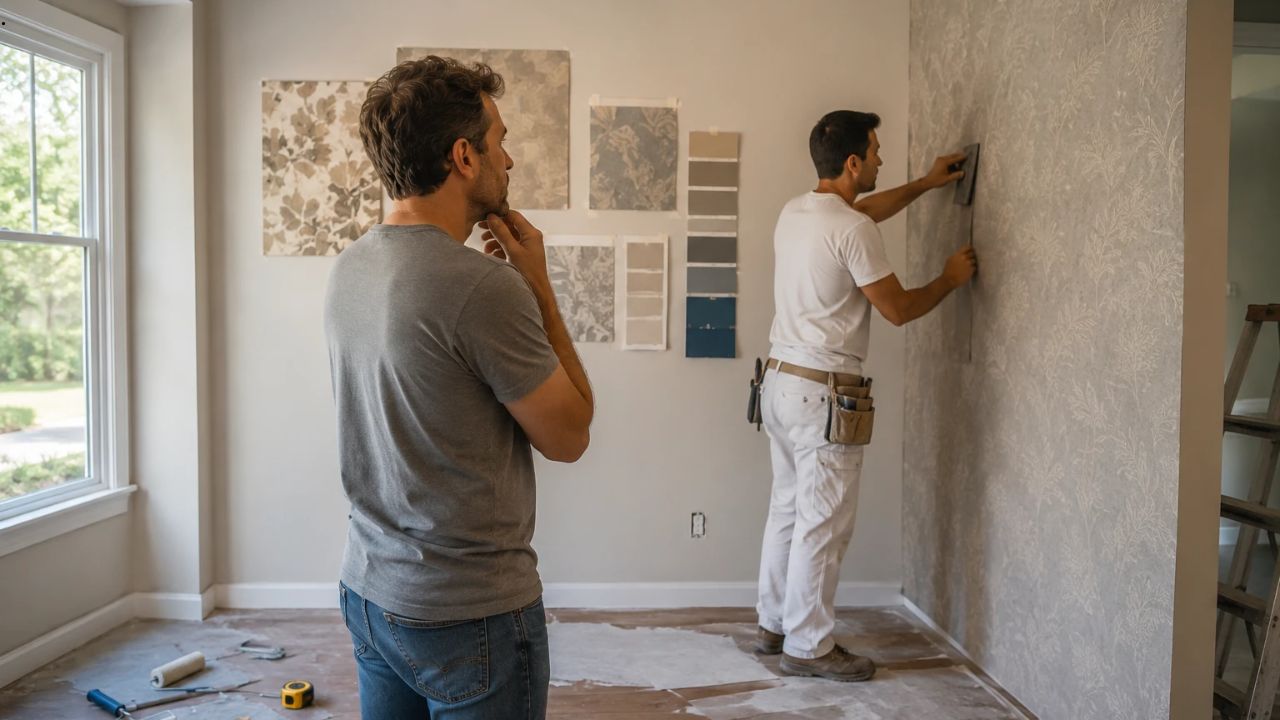
Wall Finishes and Wallpaper: More Complex Than It Looks
Walls are one of the most visible surfaces in any home, which makes them one of the highest-stakes areas for DIY mistakes.
Standard painting aside, homeowners often underestimate how much skill goes into wall finishes. Wallpaper installation, in particular, is a category where the gap between DIY and professional results tends to be large — and visible. Pattern alignment, seam management, adhesive choice, and surface preparation all affect the outcome. A useful starting point is understanding the basics: a detailed resource on wallpaper sizes, repeats and materials guide can help you assess what a given project actually involves before committing.
Once you understand the scope, the DIY vs. pro question becomes clearer. Simpler peel-and-stick wallpaper in a low-traffic area may be manageable for a careful DIYer. But grasscloth, designer papers, large-format murals, or any installation in a room with challenging angles, high ceilings, or imperfect walls will almost always benefit from professional handling. An honest breakdown of wallpaper installation DIY or hire a professional covers the trade-offs in detail, including where DIY commonly goes wrong and what professional installation actually includes.
The same logic applies to decorative plasters — Venetian plaster, limewash, microcement finishes — where technique matters even more than material quality.
DIY: simple peel-and-stick wallpaper on well-prepared smooth walls Pro: standard and designer wallpaper, decorative plasters, any complex layouts
Flooring: Material Dependent
Luxury vinyl plank (LVP) and laminate flooring are among the most DIY-friendly flooring options available today. The click-lock systems are designed for installation without adhesives, and a patient DIYer with a miter saw can achieve good results in most rooms.
Hardwood, tile, and natural stone are a different story. Hardwood requires acclimation, precise cutting, nailing or stapling, and finishing. Tile requires a flat and properly prepared substrate, accurate layout planning, and careful grouting. Mistakes in any of these categories are expensive to fix after the fact.
DIY: LVP, laminate, carpet tiles in straightforward layouts Pro: hardwood, tile, natural stone, any large or complex floor plans
Landscaping and Outdoor Projects
Mulching, planting, and simple lawn care are obvious DIY territory. Small patio projects using pavers — with proper base prep — are also manageable for many homeowners.
Anything involving grading, drainage, retaining walls over a foot or two high, or irrigation systems that need to tie into your main line is best left to professionals. Poor drainage decisions in particular can have long-term consequences for your foundation and yard.
DIY: planting, mulching, small paver projects, basic lawn maintenance Pro: grading, drainage systems, retaining walls, irrigation installation
How to Make the Call on Any Project
Before starting any home improvement project, ask yourself four questions:
1. What’s the worst case if this goes wrong? For painting a bedroom, the worst case is uneven coverage — you repaint. For wiring behind a wall, the worst case is a fire hazard. The stakes should drive the decision.
2. Do I have the right tools — not just approximate ones? Many DIY projects fail not because of skill, but because the right tool wasn’t used. Renting professional tools for a single project is often worth it; improvising with the wrong equipment rarely is.
3. Is the surface already in good condition? Professionals spend significant time on prep — leveling, priming, patching. DIYers often skip this step to get to the visible work faster. Prep is where most projects succeed or fail.
4. What is my time actually worth? A weekend project that takes three weekends because of mistakes and rework may cost more in real terms than a professional who finishes in a day.
The Bottom Line
DIY home improvement can be deeply satisfying and genuinely cost-effective — when the project fits the skill level, the tools are right, and the stakes of getting it wrong are low.
The most expensive mistake most homeowners make isn’t hiring a professional. It’s spending time and money on a DIY attempt that eventually requires a professional to fix anyway.
Know your strengths, be honest about complexity, and make the call before you start — not after.